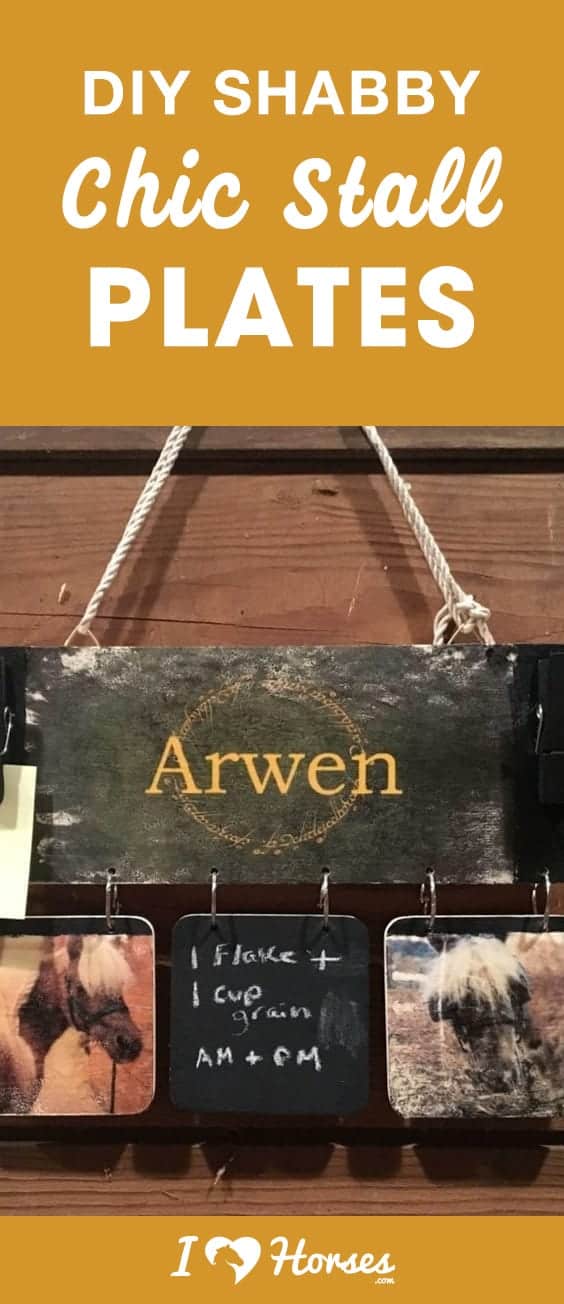
If you are into shabby chic that mixes style and function, you are going to love this easy to do and inexpensive stall plate for your favorite equine friend. The great part about it is you don’t need to be an artist or be able to paint names nicely (something I definitely cannot do!), in order to make a nice stall sign that is also useful.
Materials Needed
- Wood cut in whatever size/shape you want for your stall sign. Make sure it’s sanded and smooth. I bought the piece I used all ready to be decorated, including already having hanging hooks, at Craft Warehouse. Remember your iron-ons are 8.5" x 11" and will have a printing border. If you want the image to take up the entire sign, use a piece that is around 8" x 10".
- Iron-on transfers for fabric. I chose the Jolee’s brand for light fabrics. If you are using a very dark wood, you may want to choose the one for dark fabrics.
- Iron and Ironing Board
- Spray Acrylic Sealer – matte finish is what I chose, but you can use another.
- Something to hang the sign with – rope, wire, or hook and nails. I used a cotton rope

Optional Materials
Anything you want to decorate with! Glitter, paint, ribbon--you're only limited by your imagination!
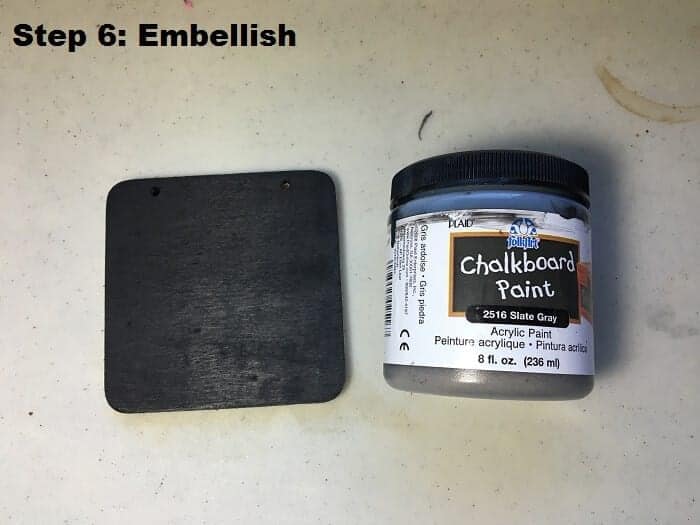
I used chalkboard paint in dark grey and a few chalkboard clothespins.
How To Make Shabby Chic Stall Plates
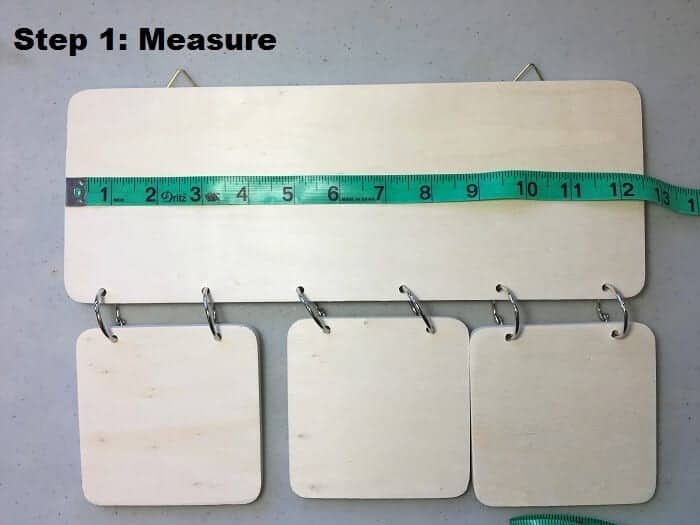
Step 1. Measure your piece(s) of wood. You want your design to be a bit bigger than this to make sure you go all the way to the edge.
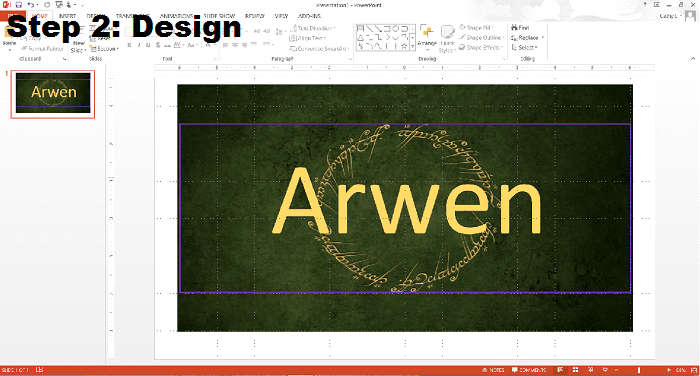
Step 2. Make your design on your computer. I used PowerPoint because I find it easy to use and works for simple designs. Display the ruler so you know about what size your design needs to be. I also made a rectangular outline the size of the stall plate so that I knew where the design would fall. Note: I found on the small pieces, there was a bit of size discrepancy, so printing out a practice piece on plain paper is a good idea.
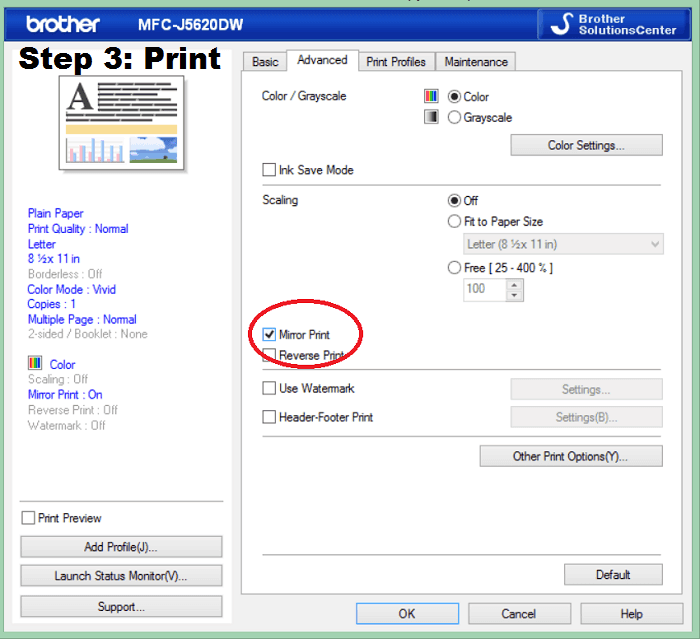
Step 3. Print on your printer using the directions on the package. REMEMBER TO SET YOUR PRINTER TO MIRROR! So the design will turn out right. I also set mine to the highest quality per instructions for my inkjet.
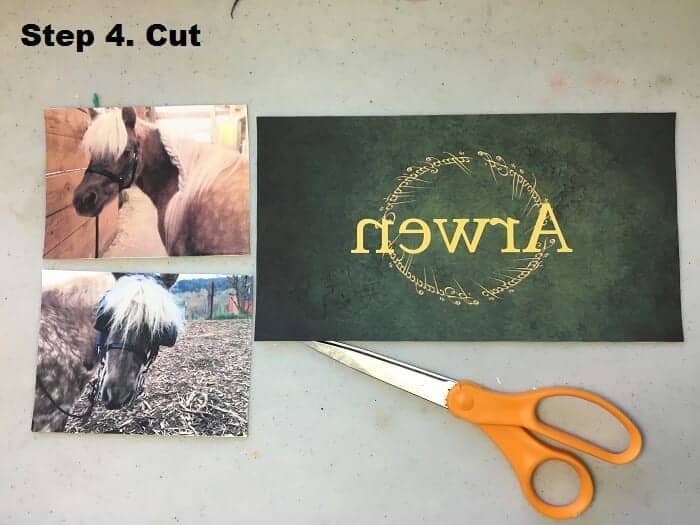
Step 4. Cut out your images to remove the white outlines – they will transfer!
Step 5. Position your design on your piece of wood. Use your Iron on “cotton” or “high” setting no steam. You are going to want to carefully push without having the paper slip. It takes a while, 3-5 minutes per design. You can check by carefully peeling up a corner.
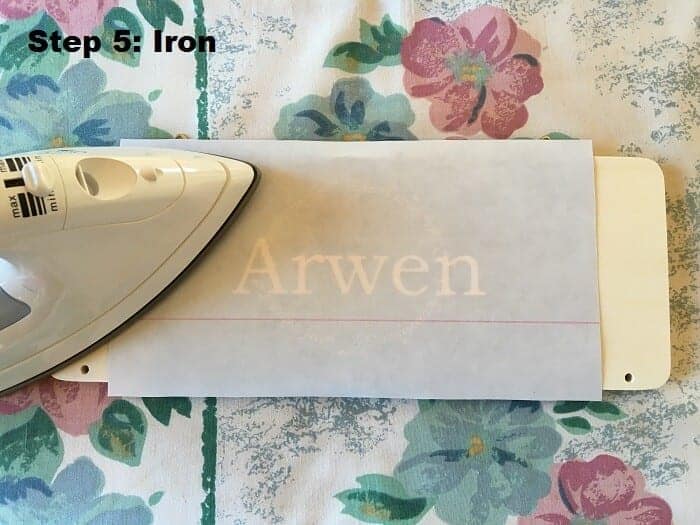
With the paper still warm (otherwise it will stick!) carefully peel it off. It’s not going to be a perfect transfer…it will look worn, which makes it perfect for shabby chic! Let cool.
Step 6. Embellish as desired and seal! Add whatever paint, glitter, ribbon, etc., that you want!
I painted the middle square with gray chalkboard paint so I can leave a note on her stall if needed.
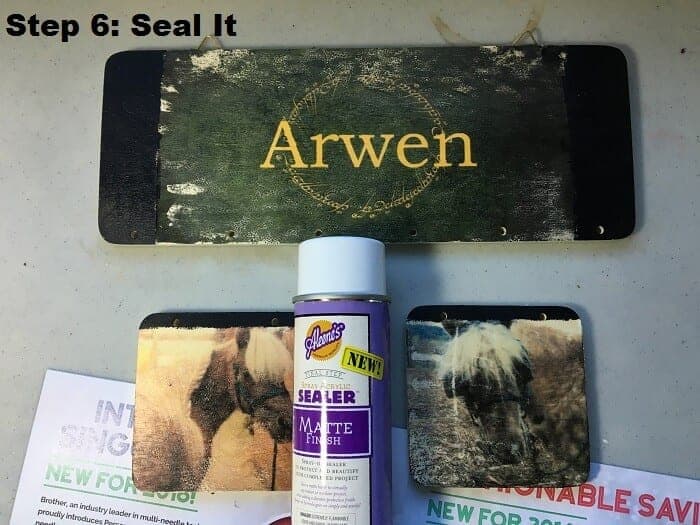
Once you’ve add all of these embellishments, spray your sign OUTSIDE with acrylic sealer to protect it from barn life. Note: Don’t spray anything that you put chalkboard paint on, as it might ruin the properties of the paint!
Step 7. Add any finishing touches
If you want, you can now add a hook for a halter, bridle or grooming tote, or clips for messages. I add two chalkboard clothespins to either side of the main sign so we could post notes, like when the farrier was coming, if she had been ridden or even something cute like “I love Apples!”
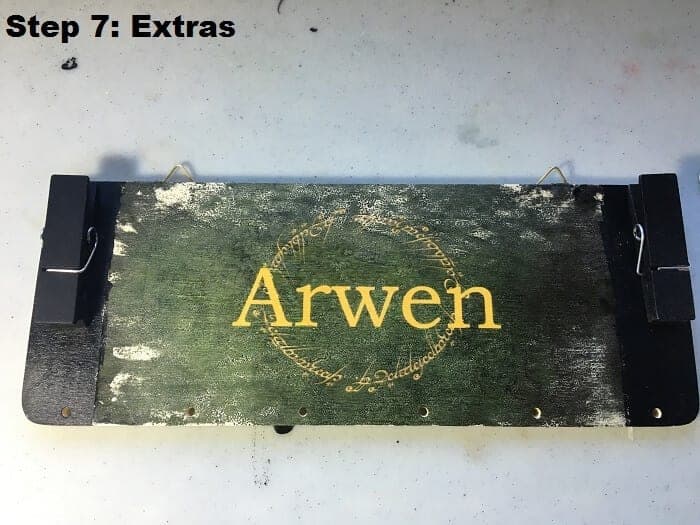
Now hang it and admire your work!
Horse Courses by Elaine Heney
- Listening to the Horse - The Documentary by Elaine Heney & Grey Pony Films
- Shoulder In & Out Training for better balance, bend & topline development with your horse
- Over 110+ Polework Exercises & Challenges to Download
- Dancing at Liberty & Creating Connection with Your Horse (11 lessons) - Grey Pony Films


Leave a Reply